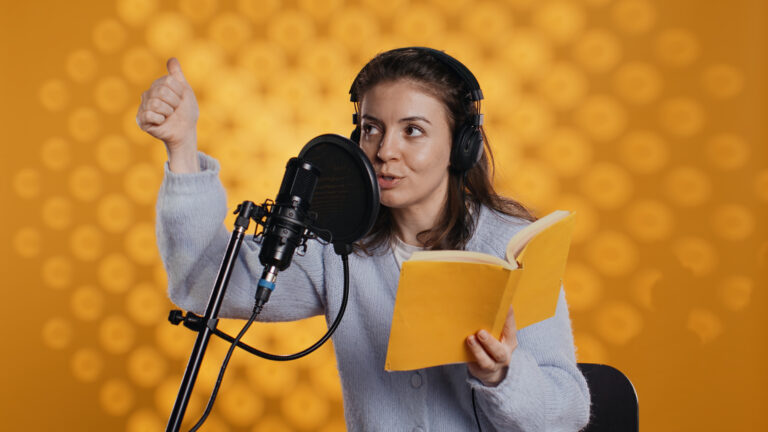
More than ever before, it’s imperative for actors to quickly and efficiently complete a high-quality self tape. However, not everyone has easy access to a professional studio.
It’s always good to be able to shoot your work in a pinch for a quick turnaround, or during times when you don’t have extra cash on hand for taping fees. That being said, how can you tape high-quality auditions when you don’t have spare rooms lying around for that purpose?
Here are some tips for quickly transforming your space into a workable self tape studio.
Find the Right Space to Record Your Self Tapes
Where you choose to record your self tape can make a huge difference. When you’re trying to find the right wall in your home, there are several factors to consider.
For example, is there enough space for your camera to capture a full body shot (If so, what else might be included in that shot?)? Large blank walls are best, in an area that can be cleared of furnishings and wall hangings.
If you can paint a plain wall a neutral color that compliments your skin tone in a self tape, such as a nice gray or blue, do so. Otherwise, invest in a good backdrop, and make sure to steam it and keep it clean and wrinkle-free.
Fill You Self Tape Space With Good Lighting
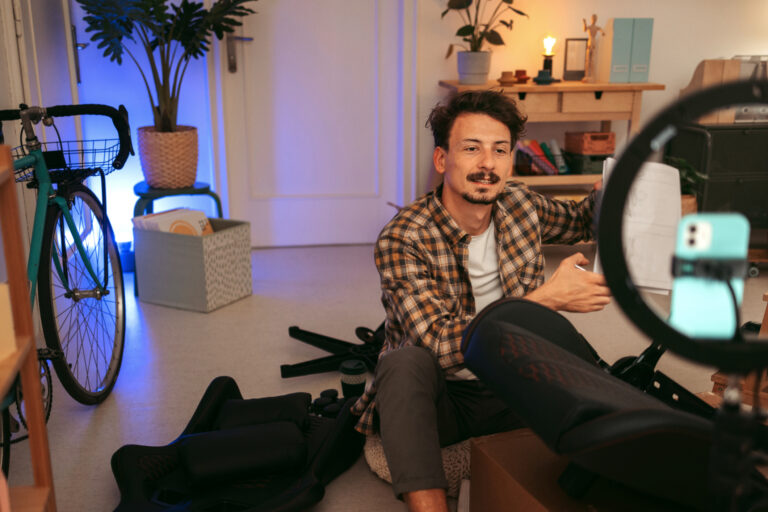
I cannot overemphasize the importance of a good lighting setup, especially if your space doesn’t have good natural light. A great light source transforms the quality of any self tape. Basic photography lighting equipment such as can be found online for affordable prices, and is worth the investment. Write it off on your taxes and prepare to dazzle!
Camera and tripod.
While cell phone cameras may work for many small self tapes, it’s not a bad idea to invest in a quality camera for your self tape setup.
Your video camera doesn’t have to have all the bells and whistles; it just needs to be able to focus well and record a good, easily transferable self tape audition. Research your self tape camera before you buy, because this is a cornerstone of your actor office equipment.
Be sure to get a decent tripod as well. Rather than purchase an inexpensive tripod, I made do without one for far too long, MacGyvering tripods by taping my phone to lamps, stacking a small library’s worth of books, or using binder clips to get the exact right angle. It was not worth the hassle. Invest in a tripod and get an attachment that can clip to your cell phone in a pinch.
Consider Your Self Tape’s Sound Quality
This is a tough one for those, like me, who live in thin-walled, poorly insulated apartments that love nothing more than to bounce every sound off their drywall surfaces. Bad sounds such as loud neighbors can sabotage your tape game, regardless of the strong choices you’ve made in your audition.
Since sound quality can make a huge difference in how your self tape turns out overall, it’s worth finding some creative solutions to treat the sound of your self tape space.
Rugs, bed sheets and padded wall hangings can go a long way toward absorbing sound. A good microphone attachment for your camera might be a good purchase to help combat unwanted background noise.
If you often audition for voiceover work, consider padding a closet space with foam or other absorbent materials. Shotgun microphones are designed to block out unwanted noise from behind, so it might be worth considering one if you’re in a noisy area.
Treating your space may take some trial and error, but it will help. If you’re unsure of your space’s sound quality, ask a sound engineer for help.
Look into Proper Editing Software for Your Self Tapes
Anyone who has struggled through the painstaking editing process on a mobile phone can attest to the fact that you will want access to a laptop or desktop that has editing software. Consider video editing software such as Adobe Premiere Pro or audio editing software such as Adobe Audition or Audacity to improve your video quality, helping your self tapes look and sound your best.
When it comes to your self tape auditions, staying organized is key, especially for those of us who don’t have the space for a permanent self tape area.
Keep all your materials clean, protected and together, so that setup and takedowns are a minimal hassle. If you can’t afford everything right away, prioritize the things that make your final product look more professional.
When you can, start thinking ahead — if you know you’re moving, keep an eye out for a good self tape wall. Take note of carpet vs. no carpet. Identify what direction the windows face and how it might affect light in your space. The process will be one of constant revision and upgrades, so don’t get discouraged. You’ll soon find what works best for you and your self tapes, and casting directors will appreciate you for it.
Did you know that Casting Networks Premium memberships now include access to health and well-being benefits and discounts? Click here to learn more about Thrive!
You may also like: