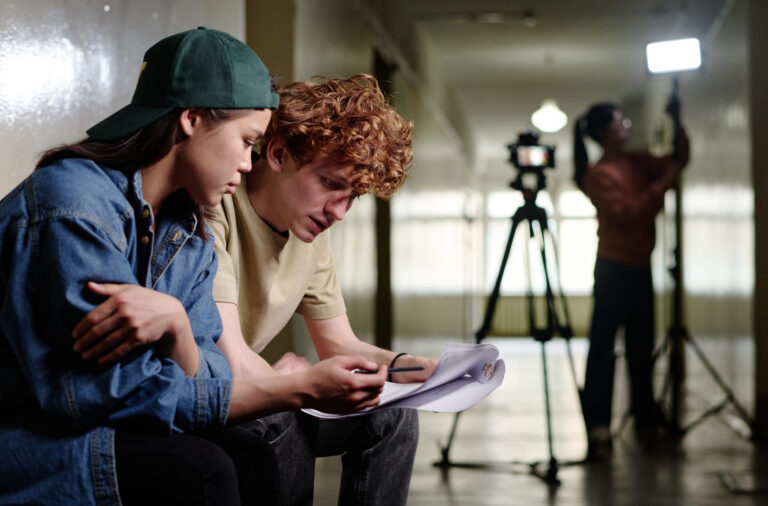
In the past several years, self-taping has taken over the entertainment industry and is now the primary way to audition. And although in-person auditions have returned to the audition process in some capacity, even callbacks have shifted to virtual.
That being said, producing a professional-looking self tape is crucial to boosting your chances of getting seen and booking. However, it can feel a little overwhelming when you’re putting your first self-taped auditions together. Here are some tips and tricks to set you on the right track.
Your Self Tape Setup is Key
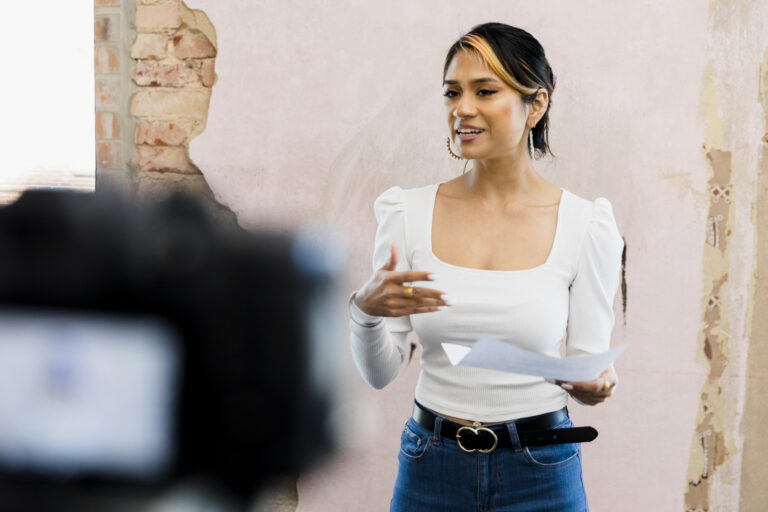
Having the right self tape setup makes a huge difference in the look of your self tape. Space can be hard to come by, especially on a new actor’s budget. A blank wall in your home, (sometimes a friend’s home or whatever space you can borrow) can work great as a backdrop. Soft blues or grays are going to be the easiest to work with.
If that’s not an option for your self tape studio, there are backdrop kit options online that come with stands that can be broken down and put up wherever you like. Make sure to keep them clean and wrinkle-free for the most professional look.
However you set up, remember that you’ll want enough room for a wider shot and a full-body shot, as most self tape auditions require the latter.
Assemble the Right Equipment for Your Self Tape Auditions
For any self tape audition, you’ll need a camera, tripod and lights. Newer iPhones or smartphones may have good enough cameras, especially for shorter self tapes. If you don’t have access to a room with great natural light, you can always get decent lighting from a ring light.
Don’t Forget the Editing Software
When you’re assembling self tape equipment, it’s easy to forget about the editing phase.
Editing is important to create a professional product. While you may be able to do some edits directly on your phone, getting comfortable with some basic editing software, such as iMovie, can be a game changer for your self tape auditions.
You’ll also want to note the audio quality of your auditions. Poor sound quality can hurt an acting audition. Plus, if the casting director can’t hear anything, you won’t be able to book. Consider Adobe Audition or if you’re on a budget, free tools such as Audacity work well, too. There’s a wide range of software to choose from, so pick whichever is right for you and learn how to enhance your video production and sound quality.
Read Everything in the Casting Call
There is no industry standard for virtual auditions. Different industry professionals will ask for different things during the audition process. Be sure to read everything in the casting call and follow every single direction you see, from taping your audition to labeling your audition tapes.
Remember, missing something could make the difference between the casting office watching your audition or not. You might have made bold choices and captured the most authentic performance, but if you’re unable to follow directions, casting could put your self tape in the “no” pile.
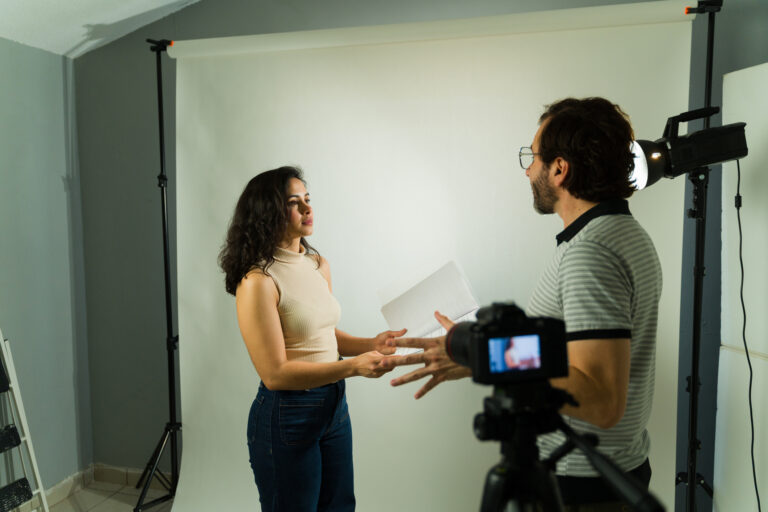
Find a Good Reader for Your Self Tapes
In addition to audition skills, strong choices and proper audition prep, having a good reader for your self tape auditions is more important than you think.
A good reader will support you without upstaging or overshadowing your presence, and work with you on pace and cue pickups. They will also sound natural and comfortable reading behind the camera.
If you have audition anxiety, a good reader can help take the pressure off and help coach you to a great acting audition before and between takes.
That being said, a reader who is unfamiliar with acting may be loud, stumbling or stiff, which could provide distractions.
Work on Your Slate
Almost every self tape audition video will require a slate. This is often the only moment you’ll get to show off the real you, so getting comfortable with your slate is important.
To help with your slates, practice finding a good connection with the camera. Do several slates in a row to shake off any stiffness. You want to be relaxed, concise and genuine.
Most casting calls will tell you what information to include in your slates, usually some variation of your name, height and location. Don’t add anything extra to your slate unless the casting director asks for it. While you don’t want to perform your slate, it’s alright to be conscious of what you’re auditioning for.
For example, a slate for a commercial might be the sunniest version of your slate, while an audition for a dark drama might be more understated. That being said, these differences should be subtle and natural.
Learn the Best Practices for Your Self Tape Auditions
While there is no real self tape standardization, there are many unspoken “rules” to self-taped auditions. Many are technical, such as cutting down excessive movement, choosing sight lines close to the camera so they can see your face, not spiking the camera (aka accidentally looking directly at the camera), suggesting, rather than dressing up as the character, etc.). Others are more intuitive, such as finding your rhythm, learning to have fun and be vulnerable and building confidence.
When self-taping, keep an open heart and a student’s mind as each is a learning experience. The more self tape auditions you do, the more you’ll pick up on what works and what doesn’t.
Self tape auditions can feel like a lot, especially if you’re starting as an actor. Remember, you don’t have to do everything right at once. When I couldn’t afford a tripod I had my camera propped up on a tower of books. If you can’t get top-of-the-line equipment right away, work within your budget.
Your greatest resources are other actors you can trust. Connect with fellow actors in your area and see what equipment, space and reading services you can borrow, trade or rent. If you don’t have a good reader in your area (perhaps you just moved), Zoom can be a workable option.
Remember, the more you self tape, the more you’ll learn and the better you’ll get. You’ve got this!
If you’re creating a project on Casting Networks, here’s a guide on how to receive self tapes from your actors.
You may also like: